
Now let's say that we want to start adding new features for our next big version of the program. But, we also want to keep a stable, maintenance version of the program to fix bugs on. To do this, we will create a branch for our new development. To create a new branch in git gui, choose Branch → Create. The big feature that I would like to add is to ask the user for their last name, so I am calling this branch lastname. The default options in the Create Branch dialog are all fine, so just enter the name and click Create.
Now that I am on the lastname branch, I can make my new modifications:
#include <stdio.h>
#include <string.h>

int main(int argc, char **argv)
{
	char first[255], last[255];

	printf("Enter your first name: ");
	fgets(first, 255, stdin);
	first[strlen(first)-1] = '\0'; /* remove the newline at the end */

	printf("Now enter your last name: ");
	gets(last); /* buffer overflow? what's that? */

	printf("Hello %s %s!\n", first, last);
 	return 0;
}
And then I can commit the change. Note here that I am committing using a different name. This is to show off something later. Normally you would always use the same name when committing.
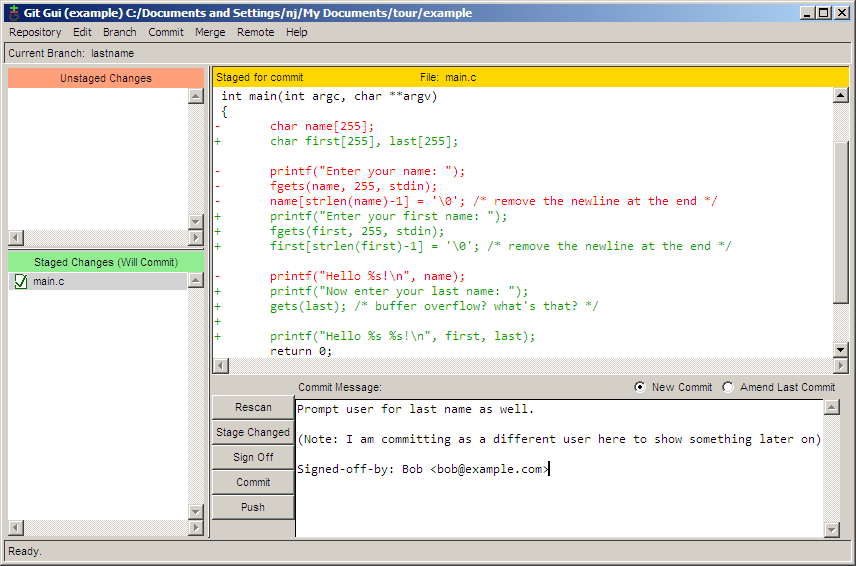
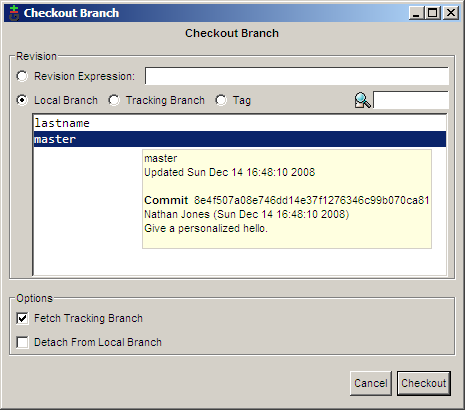
Meanwhile, a user informs us that not displaying a comma when directly addressing someone is a serious bug. In order to make this bug fix on our stable branch, we must first switch back to it. This is done using Branch → Checkout.
Now we can fix our major bug.

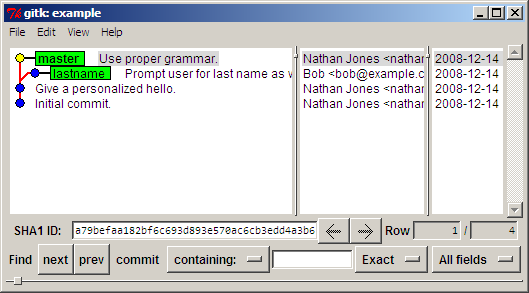
If we choose Repository → Visualize All Branch History, we can see how our history is shaping up.
| « Committing | Index | Merging » |